


Winter Storage Tips and Solutions
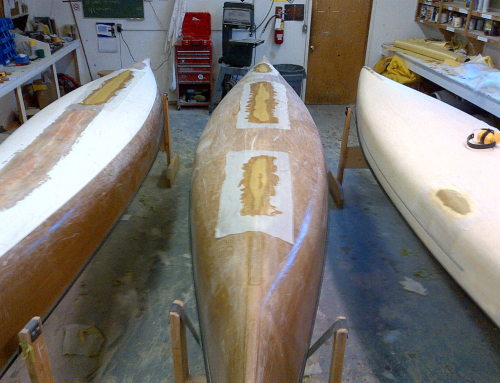
 Now that you’ve finished your fall canoe trip. It’s time to put your canoe into winter storage. While there are some specific steps for different hull and trim types, I will start with a common step I do to every canoe that comes to my facility for winter storage and/ or maintenance package. CLEANING, cleaning a canoe by hand with some rags and an all-purpose biodegradable cleaner is the best way I have found to inspect every inch of its hull for damage. If you discover any stubborn spots like pine pitch or scuff marks, you can usually remove these with methyl hydrate (a.k.a. fondue fuel). It won’t hurt the finish on your canoe. Assuming you found everything in order, you can finish up with a coat of wax or a UV protection such as 303.
The next step is to inspect the trim. If your canoe has wood trim, tighten the screws a quarter turn each with a screw driver, not a screw gun. But only if needed. Do not force them. If your hull is Royalex, you should remove the last four or five screws from each gunwale at both ends to avoid cold cracking.
Make sure all the fasteners on the seats, thwarts, grab handles and yoke are tight. Now it’s time to apply a few coats of Badger wood oil (directions are on the can) to all the parts that don’t have varnish on them. Varnished parts need to be lightly sanded and re-coated in varnish.
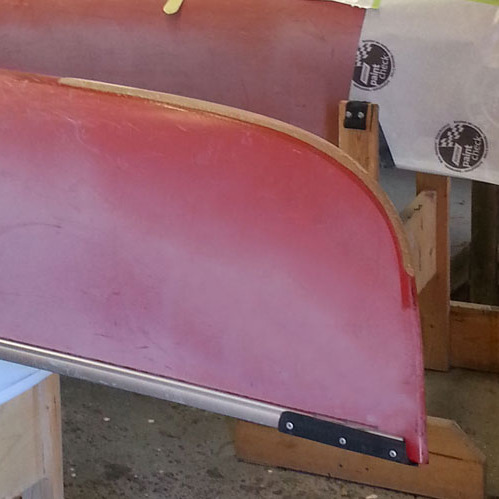
If your canoe has aluminum gunwales, you should check all rivets to ensure that none of them have been sheared off or become loose. Now check the ends of all wooden parts for rot, and go ahead and tighten all the fasteners.
Remove or loosen the plugs on any sealed float tanks. Now you can store your canoe. The best way to do this is away from any snow load and away from the ultra violet rays of the sun. Never wrapped in a tarp or shrink wrapped as this will rot the wooden parts.
For rates on storage and maintenance packages, please contact us


Recent Comments